Tutorials
How to start your own project? Check it here.
Basic project
This basic tutorial explains step-by-step how to write the simple and classic hello world -program with Ano script. Tutorial assumes that you have unpacked Detroit distribution package ready.
First thing to do is to run configure script. Configure prepares everything for compilation.
$ ./configure --prefix=`pwd` \
	--enable-debug \
	--with-libiconv=/where/is/your/libiconv
Before engine compilation, a simple Ano script is needed which drives the engine. So, next we write a simple script and we compile it with Ano compiler. Open text editor and use example below as a starting point:
; @ANO_SCRIPT_NAME		MyTestProject
; @ANO_SCRIPT_VERSION		0.0.1
; @ANO_SCRIPT_DESCRIPTION	This is test project

	print "Hello, world!\n"
	exit
Save it in some file, here we assume you use mytestproject.ano. Header is not mandatory (that part with @ANO_ strings in it), but compiled program can display this along with other info if you start the program with -V switch.
Next thing is to compile the script. This is done by using Ano compiler located in build directory:
$ ./build/ano mytestproject.ano > engine/dsl_ano.h
As Ano script is compiled to C headers, we redirect the output to engine/dsl_ano.h. Now things are ready, and program can be compiled with C compiler and started after that:
$ gmake
$ ./detroit.debug
Please note that .debug suffix is added automatically to program name when it is configured with --enable-debug flag.
That's it. Every time you modify Ano script you need to recompile it along with the engine. Ano script and engine compilation can be automated, for example, with very simple shell script, or Makefile can be tailored to do that automatically. In fact, FOSS Mixer's Makefile has compile rule which does exactly that. Consult it for further info.
Custom project
If you want to install your program with Makefile's install rule, or want to change the binary name to something else than default detroit, you need custom PROJECT file. PROJECT file is for defining some essential details about the project. File is located in package root (that's the same directory where the configure script is) and consists of exactly four lines:
ProjectName	<- This is the name of the project, must be single word
projectname	<- This is the name of the binary, usually equals to project
		   name, but is written in lowercase
YYYY		<- This is the date when project was made
x.y.z		<- This is the version of the project, usually with three
		   digits
For example, project file for this tutorial may look like:
MyTestProject
mytestproject
2026
0.0.1
Put those four lines in your text editor and write it as PROJECT. If there is project file already, just replace it. Another essential part for custom project is config templates in etc directory. Let's say that you use mytestproject as your project binary name (that's the second line in project file). For that you need mytestproject.conf.in and mytestproject.res.in files available in etc directory. In addition, if you use --enable-debug flag with configure script, you need mytestproject.debug.conf.in and mytestproject.debug.res.in files too. Easiest way is to copy these files from default project:
$ cd etc
$ cp detroit.conf.in mytestproject.conf.in
$ cp detroit.debug.conf.in mytestproject.debug.conf.in
$ cp detroit.res.in mytestproject.res.in
$ cp detroit.debug.res.in mytestproject.debug.res.in
$ cd ..
When project file and config templates are created, run configure script as in Basic project section. Configure needs project file and properly named config templates when it prepares things for compilation. From here, continue just like in Basic project section above.
Widgets
How to create custom widget set? Check it here.
Prerequisities
Tools and other stuff you need when creating widget set:
- gimp image manipulation program,
- widget images located in widget_images directory, and
- shadow images for widgets located in shadow_images directory.
Widget and shadow images can be prepared using some rendering software for example, I use Autodesk Maya. In image files, empty background must be transparent (alpha value of zero). In this example we are about to create rolling knob widget which has one image frame per angle, that makes 360 images in total. Widget rolls clockwise, where angle of zero points downwards, angle of 90 points west and so on. Widget image and its shadow are separated (rendered separately), and located in different directories, widget_images and shadow_images. This example can be completed with less image frames, actually two or three is enough, when we get two or three position switch.
Shadow images are a bit of special cases. It does not matter what color they are, only alpha channel is important. The more alpha value in some pixel, the more opaque it is. Alpha channel value of zero is completely transparent (in other words, no shadow at all), and alpha channel value of 255 is completely opaque. But as in real world no shadow is completely opaque, it is not recommended to use very high alpha values.
1. Stacking widget images
As we now have 360 separate image files (or those two or three), we need to stack them together. Each image file becomes a layer for easier processing in following steps. There is stack_image_tga.sh script available in engine/tools directory which reads all images in some directory, and stacks them together. Script takes three parameters; first one is the width of the original image file, second is the height, and last one is directory name where original image files are. In this example, widget images are located in widget_images directory, and their size is 640 times 480 pixels:
$ ./stack_image_tga.sh 640 480 widget_images
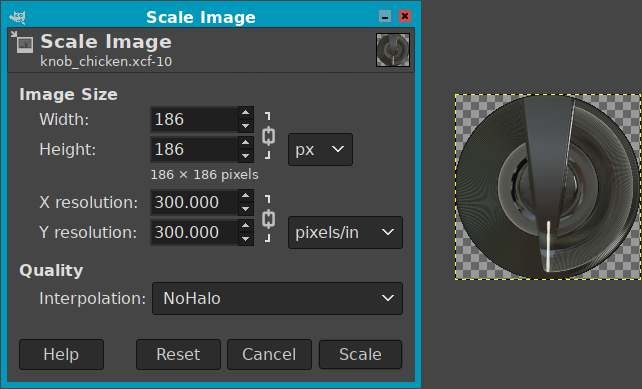
Gimp remains open once stack_image_tga.sh script completes. Cut empty border areas off and save image using gimp internal xcf format. File name can be master_widget_01.xcf for example.
This is how I crop empty borders off, there might be better way but this works: I use magic wand (fuzzy select) selection tool with threshold of zero, antialiasing off, select transparent areas and sample merged options on. Click somewhere on empty border. Now image limits can be seen easily, and cropping can be done just in right place by using crop tool. Zooming the image helps cropping.
Stacked frames with empty borders cut off
|
2. Resizing widget image stack
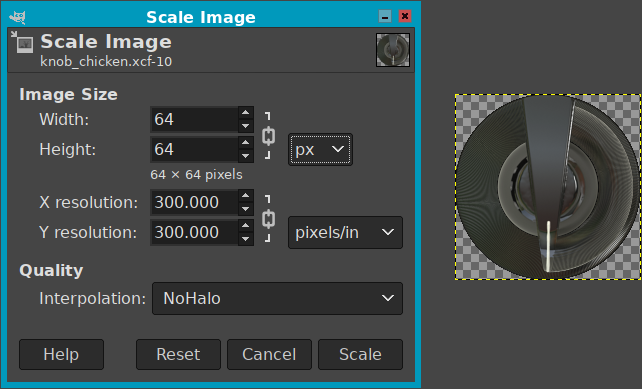
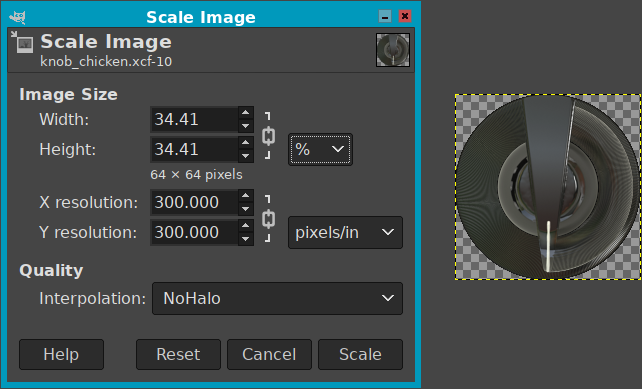
While gimp still open, resize the image to the size in pixels you like by using scale image tool, for example, 64x64 pixels. Put 64 in Width and Height text fields, and select px (pixels) in unit selection menu. Before clicking Scale button, write down the percentage of the resize after selecting percent in unit selection menu. That shows the scaling percentage in Width and Height text fields. You need those numbers when resizing shadow image, because it must be resized with exactly same ratio.
Stacked frames are scaled to 64x64 pixels
|
Save cropped and resized image, for example using file name my_widget_01.xcf and close gimp.
Write down these percentages
|
3. Creating widget image pile
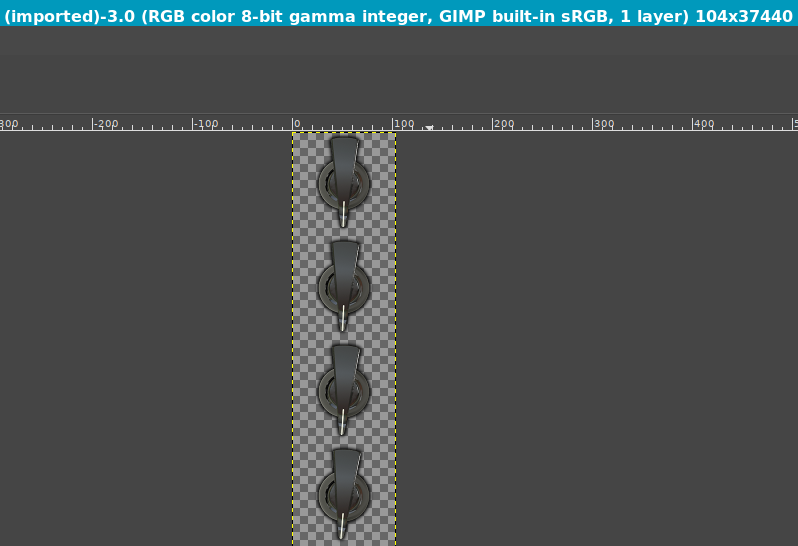
Next thing is to pile image layers top of each other. totem_stack_xcf.sh script does that, and it takes four arguments, first the width of the scaled widget image file produced in step 2, then the height, next the count of images (layers) in image file, and last one is the image file name produced in step 2.
In this example where widget image file size is 64 times 64 pixels with 360 frames, command would be:
$ ./totem_stack_xcf.sh 64 64 360 my_widget_01.xcf
As gimp remains open after it created piled image, export that using tga format without any compression, origin is bottom-left. That's the file you need when creating widget pack for Detroit engine. Use my_widget_01.tga as file name.
First four image layers top of each other, note the turning
|
As practically every object in real world has ambient occlusion, it makes object look much more natural in computer screen. If your widget images has sharp edges and no ambient shadow, there is occlude_image_tga.sh script available in engine/tools directory which makes a small shadow between visible image data and transparent area. Shadow size and intensity can be changed by modifying the script. Above screenshot has tiny ambient occlusion effect added by the script.
4. Stacking shadow images
Shadow directory has same amount of images than widget image directory, which was 360 (or those two or three), we need to stack them together too. We use stack_image_tga.sh script just like in step 1:
$ ./stack_image_tga.sh 640 480 shadow_images
Gimp remains open once stack_image_tga.sh script completes. Cut empty border areas off as in with widget images, and save image using gimp internal xcf format. File name can be master_shadow_01.xcf for example.
5. Resizing shadow image stack
While gimp still open, resize the image using percentages you writed down when you resized widget image. Put those percentage values in Width and Height text fields, and select percent in unit selection menu.
Save cropped and resized image, for example using file name my_shadow_01.xcf and close gimp.
6. Creating shadow image pile
Next thing is to pile imae layers top of each other, just like with widget image in step 3. Again, totem_stack_xcf.sh script does that. It takes four arguments, first the width of the image file produced in step 5, then the height, next the count of images (layers) in image file, and last one is the image file name produced in step 5.
As shadow image is resized by percentage, you can check the actual dimensions using file command:
$ file my_shadow_01.xcf
  my_shadow_01.xcf: GIMP XCF image data, version 0, 90 x 90, RGB Color
In this example where shadow image file size is 90 times 90 pixels with 360 frames:
$ ./totem_stack_xcf.sh 90 90 360 my_shadow_01.xcf
As gimp remains open after it created piled image, export that using tga format without any compression, origin is bottom-left. That's the file you need in next step. Use my_shadow_01.tga as file name.
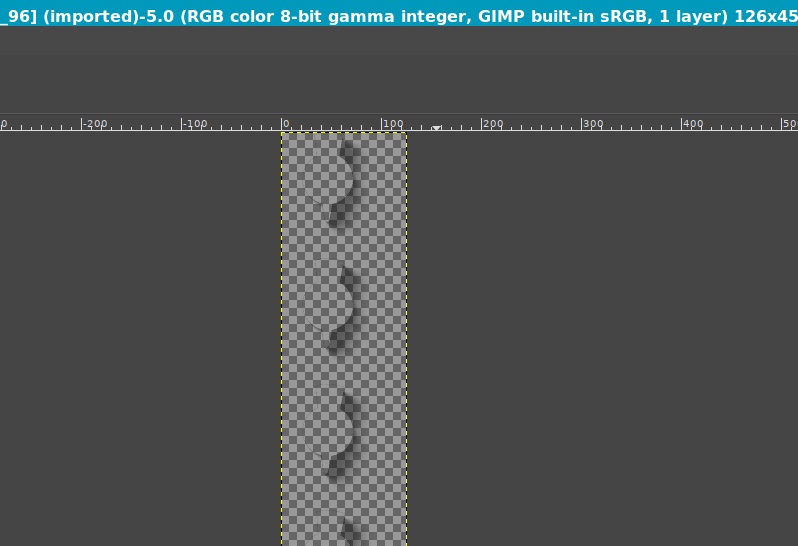
First four shadow image layers top of each other
|
7. Creating widget pack
For creating the actual widget file, there is widgettool available in engine/tools directory. It needs to be compiled first:
$ cd engine/tools
$ gmake widgettool
If compilation fails, configure and build engine first. That prepares some stuff that is needed for compilation of tools to work. Once built, widgettool syntax is:
widgettool pack \
 widget.tga shadow.tga output.widget \
 widget_frame_width widget_frame_height \
 shadow_frame_width shadow_frame_height \
 shadow_x_offset shadow_y_offset \
 optional_frame_count_or_zero
In this example widgettool can be run as:
$ ./widgettool pack \
  my_widget_01.tga my_shadow_01.tga knob_1_1.widget \
  64 64 \
  90 90 \
  8 8 \
  0
Here the widget image size is 64x64 pixels, shadow is 90x90 pixels which offset is 8x8 pixels south-east from widget image. We use all the frames in tga image files, that's why optional frame count is set to zero.
widgettool creates knob_1_1.widget which can be used with Detroit engine. Just place it in share/detroit/widgets directory replacing original. Detroit supports custom widget profiles too next to the default widget profile. Widget directory share/detroit/widgets can have subdirectory for custom widgets, and that subdirectory can be defined in application resource file by widget.profile resource. See X resources file guide for more info.
Copyright © 2026, Jani Salonen <salojan at goto10 piste co>. Piste is finnish word and means dot. All rights reserved.